Key takeaways
- Waterproofing must cover the floor and run up the walls — fully in showers.
- Every waterproofed floor should pass a flood test before tiling.
- Correct falls to the drain prevent standing water and stains.
- Mechanical ventilation protects finishes, joinery and indoor air.
A beautiful bathroom can be ruined by a single failed detail. Water finds every gap, and in apartment buildings a leak doesn't just damage your home — it damages your neighbour's ceiling. That's why we treat bathrooms as engineering projects first and design projects second.
Step 1: Strip back and assess
A lasting bathroom renovation starts by removing old tiles, screed and fixtures down to the structural slab. This reveals:
- The condition of drainage pipes and their connections
- Hidden leaks and damp in walls
- The slab's level, which determines how the new floor can slope
Tiling over old tiles is faster, but it hides problems and makes future repairs harder.
Step 2: Plumbing and drainage
Before any waterproofing, we replace or test supply pipes and drainage, position mixer valves at the right depth for the chosen fittings, and plan drain locations for the new layout. A walk-in shower usually needs a linear drain or a carefully positioned point drain to handle the flow of a rainfall head.
Step 3: Waterproofing — the critical layer
A proper waterproofing system includes:
- Primer suited to the substrate
- Reinforcing tape or bands at all wall–floor junctions, corners and pipe penetrations
- Membrane applied in the recommended number of coats and thickness
- Upstands — the membrane turns up the walls, and in showers covers the full wet zone
Most leaks happen at junctions and penetrations, not in the middle of the floor. That's where our inspectors look first.
Step 4: The flood test
Before tiling, the waterproofed floor is filled with water and left for an agreed period — commonly 24 to 48 hours. Levels are checked, and areas below are inspected for moisture. Only after passing do we lay screed and tiles. If your contractor skips this step, insist on it.
Step 5: Falls and screed
Water must flow to the drain without pooling. The screed is laid to a consistent fall, and tiles are chosen and cut to follow it. Large-format tiles look luxurious but require more careful planning of falls — or a linear drain that allows a single-direction slope.
Step 6: Tiling and stone
Use adhesives and grouts rated for wet areas. Natural stone such as marble should be sealed, and dark or acidic cleaning products avoided. For the floor, slip resistance matters as much as appearance.
Step 7: Ventilation
Without mechanical ventilation, humidity condenses on ceilings, mirrors and joinery, leading to mould and peeling paint. A quiet, correctly sized extract fan — ideally connected to the light or a humidity sensor — protects every finish in the room.
Design details that age well
- Wall-hung WCs and vanities make cleaning easy and the room feel larger.
- Concealed cisterns and recessed niches keep surfaces clutter-free.
- Warm, indirect lighting around mirrors is more flattering than a single ceiling light.
- His-and-hers vanities and separate showers transform a primary bathroom.
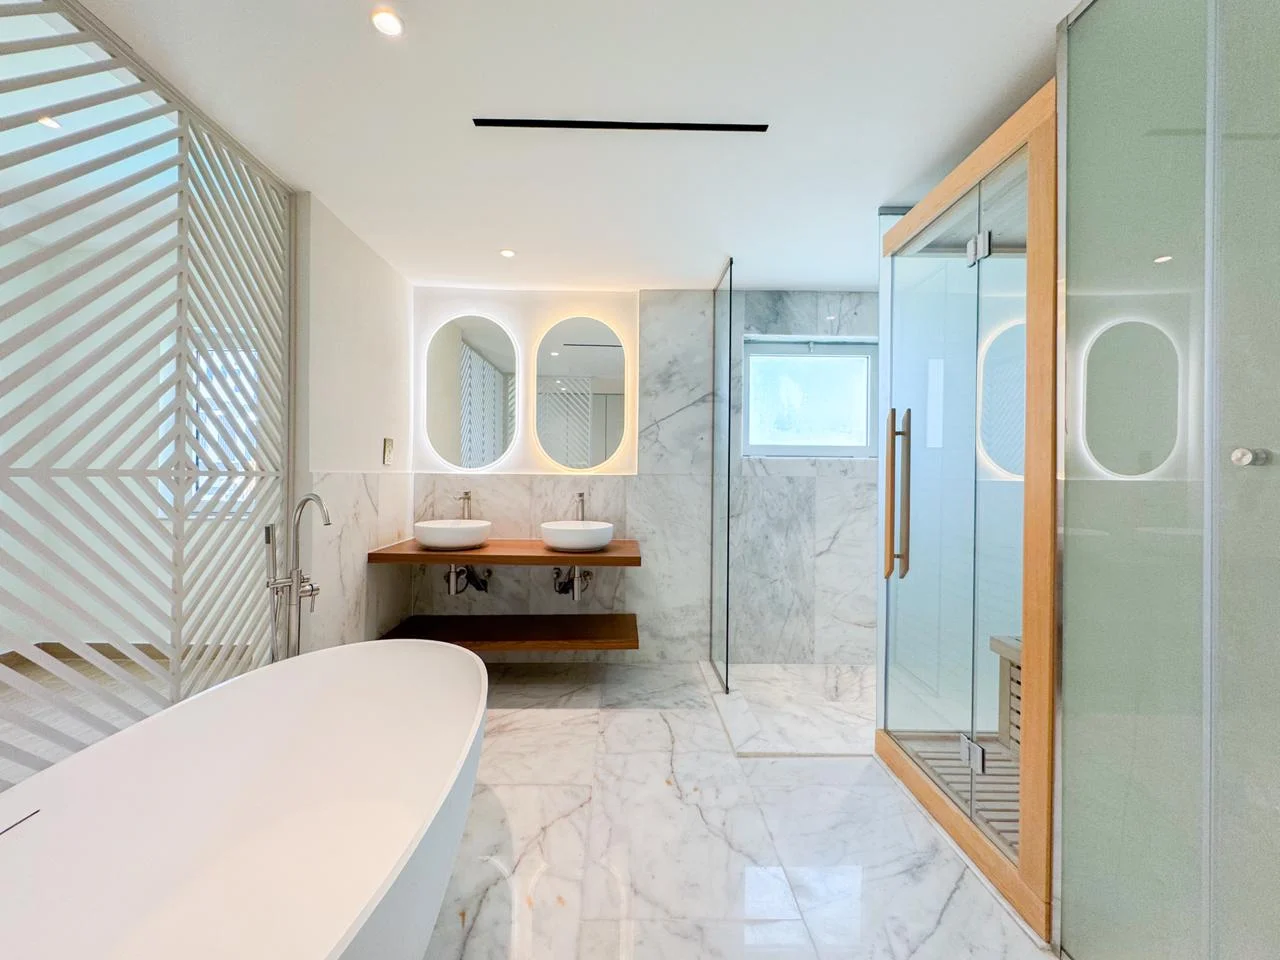
Our marble bathrooms — with walk-in showers, dual sinks and even infrared saunas — look effortless because the invisible layers underneath were built and tested first.
FAQ
How do I know if a bathroom has been waterproofed properly?
Ask for a flood test: the waterproofed floor is filled with water for an agreed period — commonly 24 to 48 hours — and checked for leaks before tiles go down. Ask for photos of the membrane before it is covered.
Can I tile over existing bathroom tiles?
Sometimes, for cosmetic updates, but it hides the condition of the waterproofing and raises floor levels. For a lasting renovation we strip back to the slab and rebuild properly.
Do walk-in showers leak more often?
Not when designed correctly. Walk-in showers need a recessed or properly sloped floor, a linear or point drain sized for the flow and waterproofing extended across the wet zone.